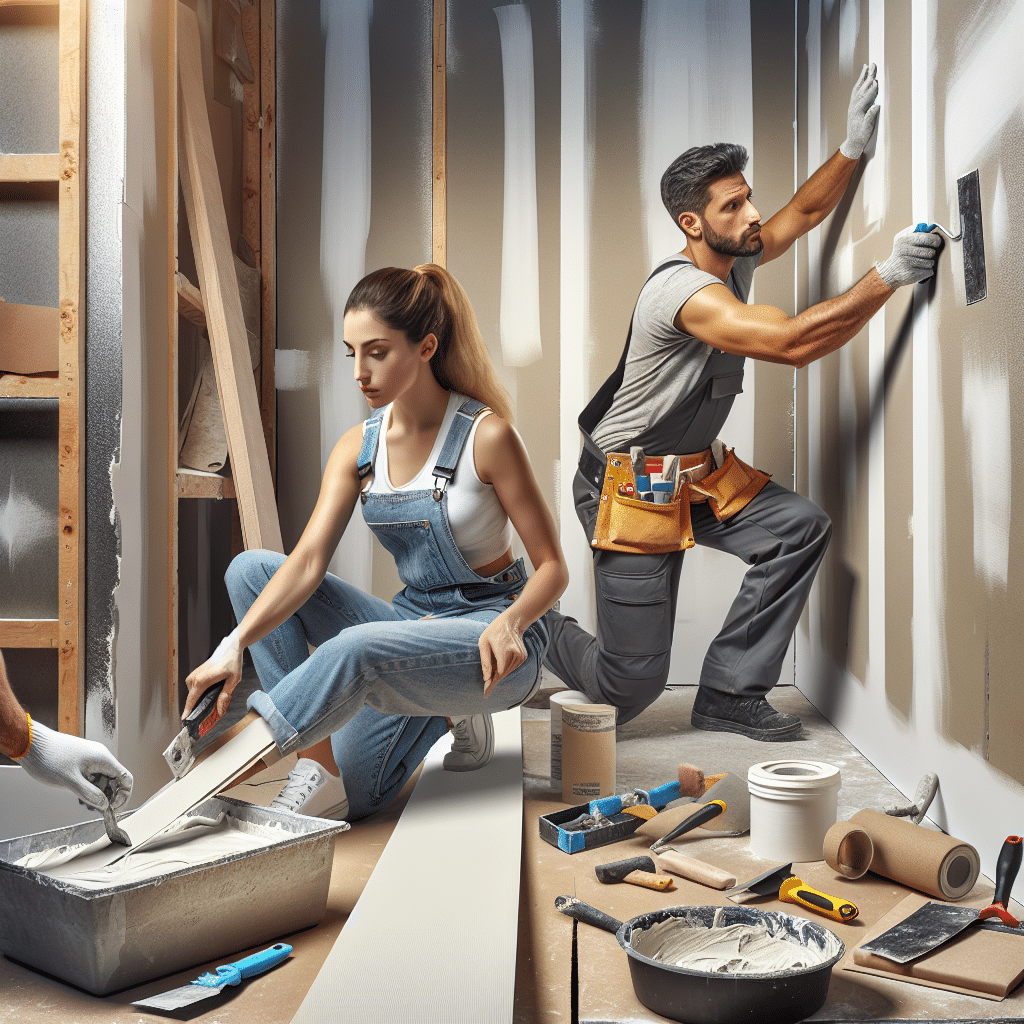
When discussing the field of tape and float, we are referring primarily to construction and drywall finishing. Tape and float is a method used to achieve a smooth and flawless surface on drywall installations. This process involves applying joint tape to the seams of the drywall panels, followed by a lighter application of joint compound (often referred to as mud) that levels the surface. The primary goal of this technique is to create an even, seamless appearance, enabling a perfect finish for painting or further texturing. It is an essential skill in the broader field of drywall installation and finishing, which plays a critical role in residential and commercial construction projects throughout the United States. Mastery of tape and float techniques can significantly impact the quality of the final product, ensuring professional results and customer satisfaction.
Understanding Tape and Float in Drywall Finishing
The field of tape and float resides predominantly within drywall finishing, a critical aspect of interior construction. As a craftsman or aspiring contractor, you may find this technique indispensable for your projects. But what exactly does tape and float entail? This section will explore its intricacies, detailing both the process and importance in achieving high-quality drywall installations.
Definition and Overview
Tape and float refers to the process of finishing seams between drywall sheets using joint tape and joint compound. The process consists of several stages aimed at creating a seamless surface that is ready for painting or other finishing treatments. This essential practice ensures a superior aesthetic finish, hiding imperfections that could otherwise impact the overall appearance of walls.
Components of Tape and Float
The tape and float technique consists of several key components and materials:
- Joint Tape: This is a strip of material, usually made from paper or fiberglass mesh, applied to the seams between drywall panels to reinforce and cover gaps.
- Joint Compound: Also known as “mud,” this material is spread over the joint tape to create a smooth, even surface. It typically comes in pre-mixed, lightweight, and all-purpose formulations.
- Knives and Trowels: Various tools, including taping knives and drywall trowels, are used to apply the joint compound and smooth out the surface. Different sizes are available for various stages of the process.
- Sanding Tools: Once the compound dries, sanding tools are used to refine the surface further, ensuring a smooth finish.
Benefits of Effective Tape and Float Techniques
- Aesthetic Appeal: The primary advantage of tape and float is its ability to create a visually appealing finish. This is crucial for both residential and commercial projects.
- Durability: Properly finished seams can withstand the stresses of daily use, preventing cracks and other forms of wear over time.
- Increased Value: A well-finished drywall installation enhances the overall property value, making it appealing to potential buyers or renters.
Step-by-Step Process of Tape and Float
Now that you understand the components of tape and float, let’s delve into the systematic process involved:
Step 1: Preparation
Before starting, ensure that the drywall is properly installed and all necessary tools and materials are on hand. Clean the surfaces that will be taped to remove dust, debris, and grease.
Step 2: Applying Joint Tape
1. Cut the joint tape to the desired length, ensuring it covers the entire seam between the drywall sheets.
2. Apply a thin layer of joint compound using a 6-inch taping knife along the seam where the tape will be placed.
3. Press the tape into the wet compound, smoothing as you go to eliminate air pockets and excess mud.
Step 3: Taping the Corners
Inside corners may require a slightly different technique:
- Use a corner trowel or a flexible blade to apply joint compound on both sides of the corner.
- Press the tape into the compound, covering all edges and ensuring a tight seal.
Step 4: Applying Joint Compound
1. Use a wider knife, typically 10-12 inches, to cover the taped seams with further joint compound. This layer should be feathered out approximately 6 inches from the seam.
2. Allow the first layer to dry completely, which usually takes 24 hours, though this may vary based on humidity and temperature.
Step 5: Sanding
After drying, use a sanding block or pole sander to smooth out any imperfections. Be cautious not to sand too aggressively, as this can damage the drywall tape beneath.
Step 6: Additional Coats
Repeat the application of joint compound, applying additional coats as needed for smoothness, sanded between each application. Two to three coats will typically suffice for an ideal finish.
Common Challenges and Solutions
Like any technical skill, tape and float can present issues. Below are common challenges and effective solutions:
- Cracking: Cracks in the joint compound can occur if not applied correctly or if the area is structurally compromised. Inspect walls and ensure proper installation of drywall.
- Visible Seams: Inadequate feathering can leave visible seams. Aim for smooth transitions and take your time on the feathering process to blend edges properly.
- Paint Issues: If paint peels or bubbles, it may have been applied prematurely, or compound residues may exist. Ensure the compound is fully dry and sanded before painting.
Frequently Asked Questions (FAQ)
What is the purpose of tape and float in drywall finishing?
The purpose of tape and float is to create a seamless, professional-looking finish on drywall installations by effectively covering seams and joint areas.
Can I use different types of joint tape?
Yes, there are two common types of joint tape: paper tape and fiberglass mesh. Paper tape is stronger and better for flat seams, while fiberglass mesh is more forgiving and can be easier to work with for beginners.
How long does the tape and float process take?
The tape and float process takes several days to complete if factoring in drying times. Each layer of joint compound requires a full day to dry before sanding and applying the next layer.
Do I need special tools for tape and float?
While some specialized tools can make the job easier, standard taping knives, a mud pan, and sandpaper can suffice for a successful taping and floating process.
Conclusion
In summary, the tape and float technique is a vital aspect of drywall finishing within the construction industry. Mastering this skill not only enhances the quality and durability of your work but also boosts the aesthetic appeal of finished spaces. By understanding the process, overcoming common challenges, and utilizing correct techniques, you can achieve professional-grade results that meet or exceed industry standards.